Thursday, March 10, 2016

How To Make Duct Tape Bows!

Difficulty Level: Easy
These simple bows are easy and fun to make! All you'll need is duct tape, scissors, and a bobby pin, (optional).
 Begin by cutting off a piece of duct tape about 2-2 1/2 inches long.
 Then cut off another one, slightly bigger than the first.
 Put them on top of one another. They don't have to be perfectly lined up, we're going to fix that soon.
 Trim off the excess tape so that you have straight end with no sticky parts coming off the edges.
 Now fold it in half.
 With your thumb and pointer finger, hold the folded tape at the very edge, across from the two flaps, and fold out the two flaps slightly.

 Push the two flaps completely back and hold it down.
 Use a thin strip of duct tape to hold it together. Congratulations! You've made your first duct tape bow! You can tape on a bobby pin or barrette so that it can go in your hair, or it can be a cool bow tie! Have fun!


Wednesday, March 9, 2016

How To Finger Knit!

Difficulty Level: Easy
Hi, Crafters!
Long before I knew how to knit or crochet, I learned to finger knit. I was about six. That's proof of how easy it is! Once you learn how, it's so easy you can do it without thinking! What are we waiting for? Let's get started!

All you'll need is yarn, some scissors... and your hand!

Begin by holding your hand in front of you, palm facing you, and wrapping one end of the yarn around your thumb a couple of times. If you're right handed, use your left hand. If you're left handed, use your right hand! This is just to keep the yarn in place. You'll unravel it later.
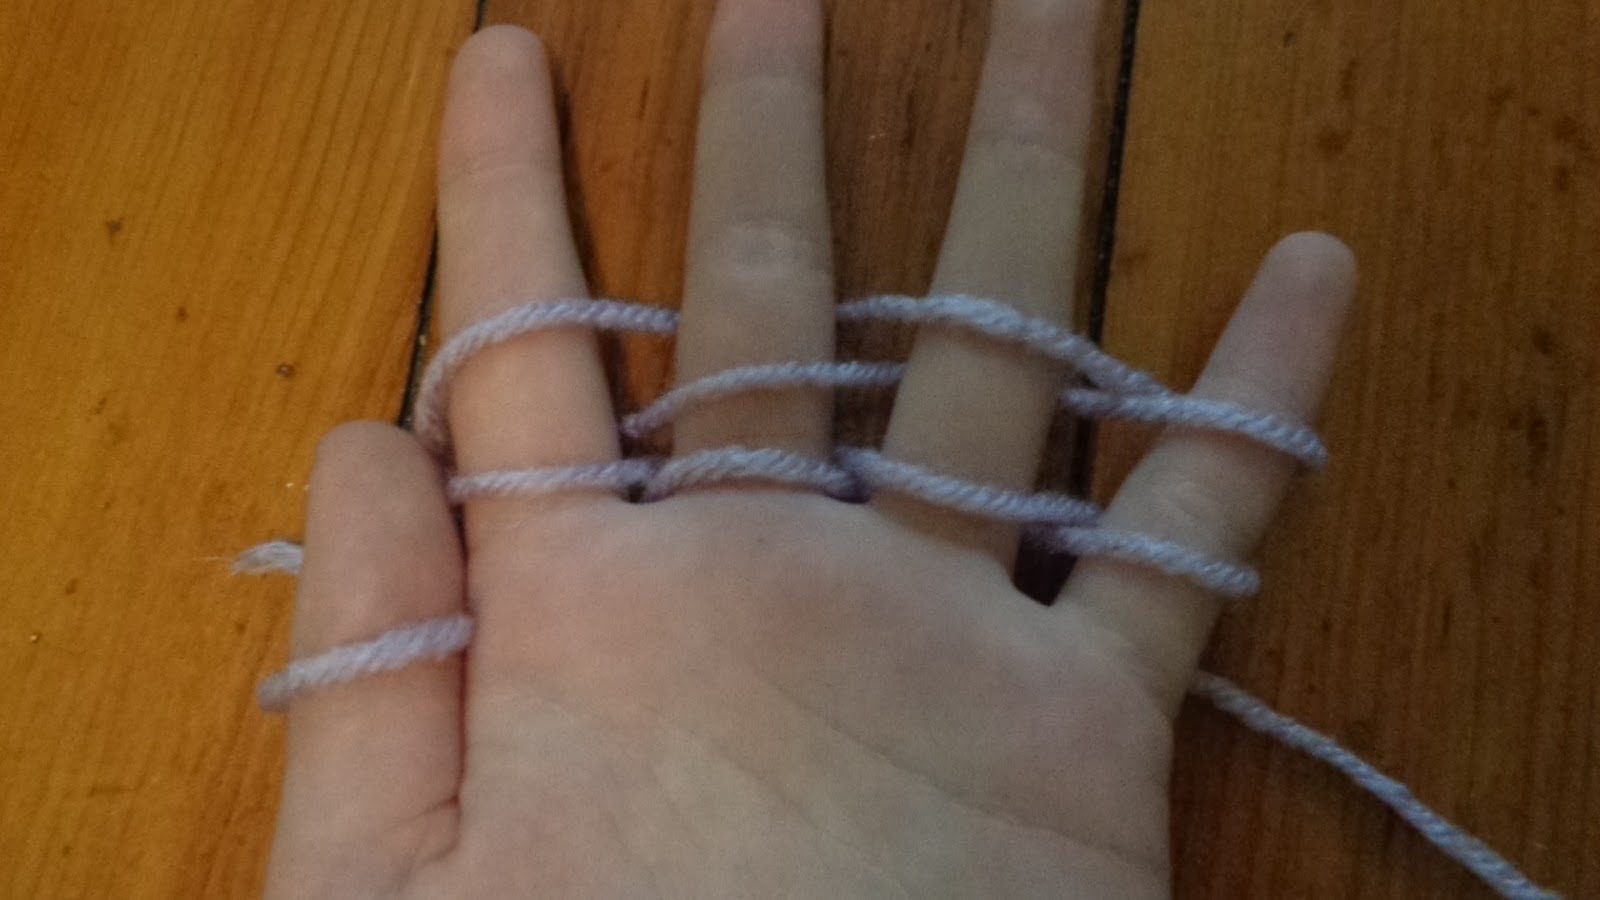
 Now slip the yarn under your pointer finger. Bring it up and over your next finger, then bring it under the next, and finally, over your pinkie.
 Then bring the yarn behind your pinkie, over your ring finger, (which shouldn't have any yarn on it) behind your middle finger, and over your pointer finger. Each finger should have one loop of yarn on it. Then do it again! Under, over, under, over, around, over, under, over. Now each finger should have two loops of yarn on them, like this:

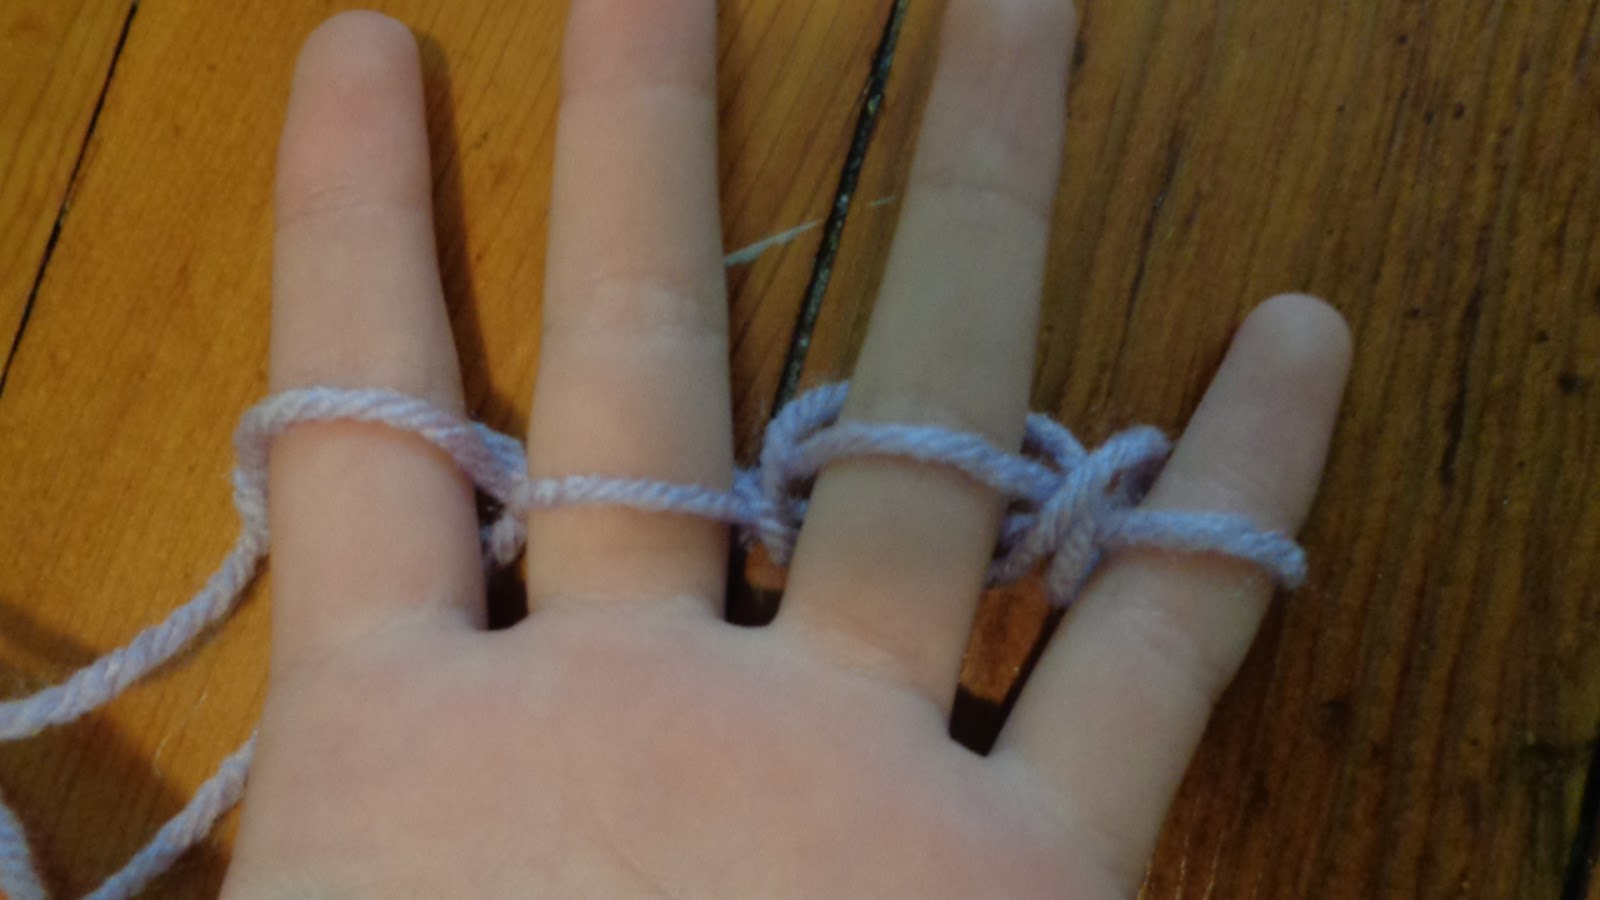
 On your pointer finger, loop the bottom part of the yarn over the top one and then over the tip of your finger. Let it drop there. Then do the same thing with the other fingers, and it should look like this on the front...
 ...and look like this on the back!
 Then do the under, over, under, over technique again, just once, so that you have two loops on each finger again. Then bring each one over, and repeat.
 After a while, it should look like this on the back. But pull it tight and...
 It should look like this!
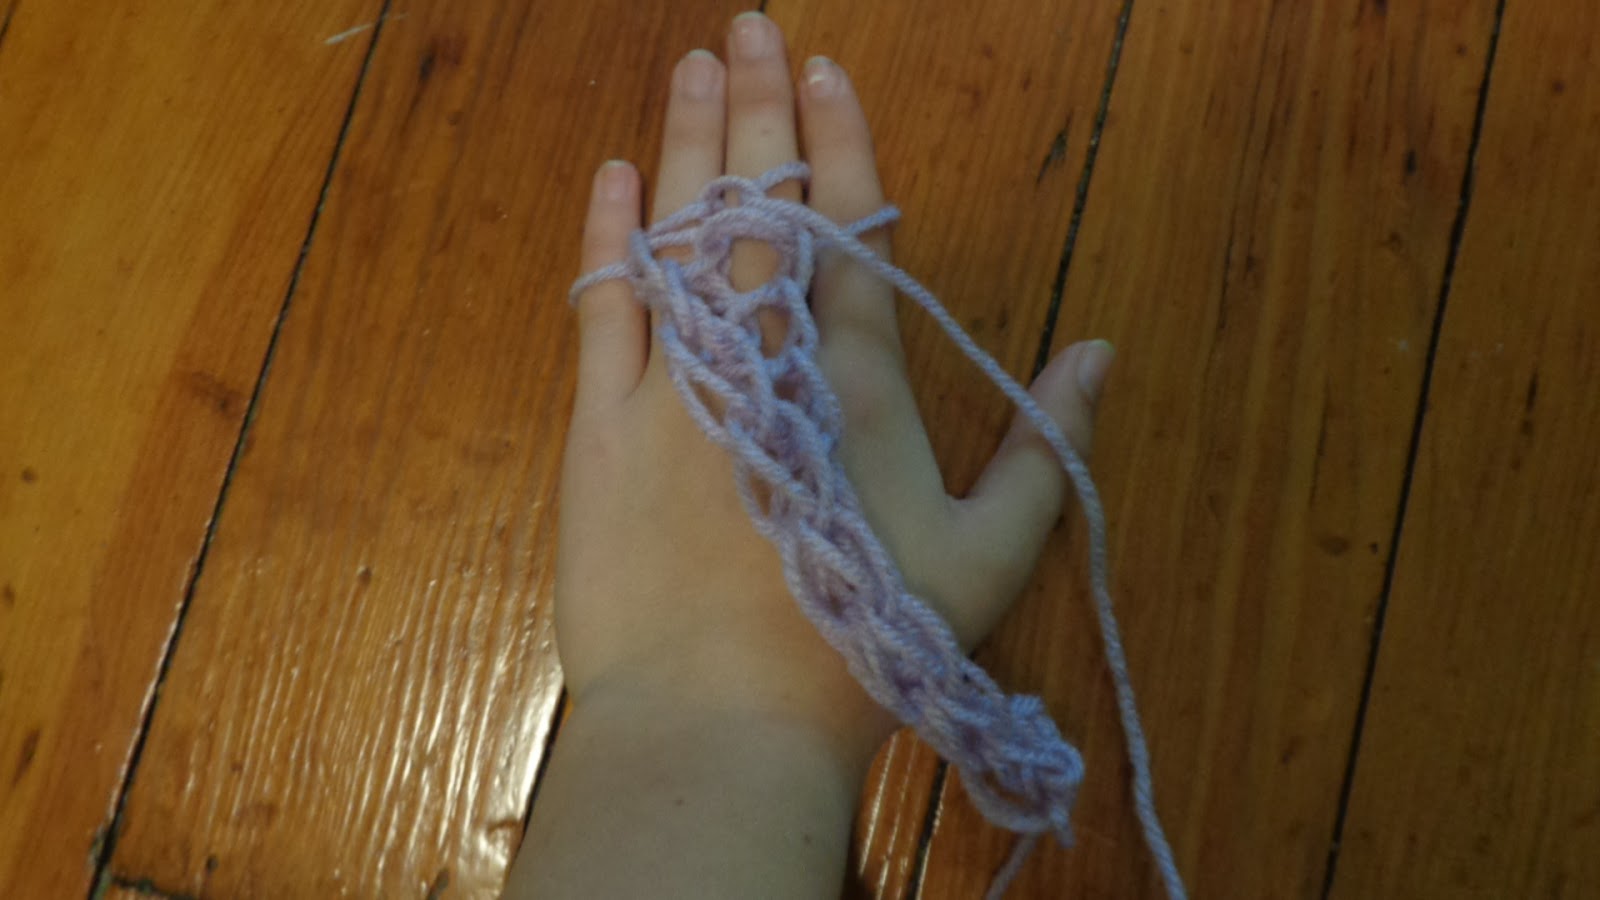
 Now keep going...
 And going...
 When it's long enough, bring the pinkie loop over top of the ring finger loop like this.
 Bring the loop over the top and bring the last loop on your ring finger over to your middle finger.
 Bring that bottom loop over the top and bring the remaining loop to your pointer finger.
 Bring the last loop over the top, which leaves one last loop. Take it carefully off your finger and cut the string of yarn, leaving a small amount to string through the loop and pull tight. Here's the finished product!
It's a bit skinny, but it can be made into headbands, belts, scarves... there's even a way to weave it into a hat! But that's another tutorial. For now, goodbye, and happy crafting!

Tuesday, March 8, 2016

Crocheted Bracelet

Difficulty level- Medium

-READ ALL THE DIRECTIONS BEFORE MAKING YOUR BRACELET-


Hey, crafters! Today we'll be making a crocheted bracelet!
The Video was to long to download so i'll just give you a written tutorial

  • First get a roll or beading wire, about 10-12 beads,  a small crochet hook, and scissors or pliers.
  • Next string the beads in the order you want them onto the end of the roll of wire... BUT DON'T CUT THE WIRE! If you do your beads will fall off and might underestimate and have to little wire to work with.
  • Then take your crochet hook and make a slip knot, start by chaining about 8, now crochet the first bead on, do 2 stitches after that bead and then do another one and so on and so forth. 
  • Lastly when you have finished crocheting all the beads on... chain 15, take you crochet hook and put it into you fifth loop and pull the wire through creating a loop cut and tie securely
  • For the final step you are going to take a large bead that JUST fits through the loop you just made. Take that bead and tie it on to the other end.... this is you clasp.
      So there you go! You can make this with all kind of beads to go with any outfit. And it only takes about 15 minutes. I'm hooked! (haha, get it?) Okay, happy bracelet making!


Drawing Cartoon Faces!

Are you interested in cartooning, but do your characters all look alike? Well, here's a list of head shapes, eyes, noses, and mouths, with pictures! You can mix-and-match to create endless characters!

Head Shapes:


Eyes:


Noses:


Mouths:


Now just add any kind of hair and you're good to go! Have fun!
-The Crafty Girls